
Table of Contents
- Understanding the Importance of Timely Plymouth Car Paint Repair
- Common Causes of Paint Damage on Plymouth Vehicles
- Step-by-Step Guide to Assessing Paint Damage
- Choosing the Right Products for Plymouth Car Paint Repair
- Professional vs. DIY Solutions for Paint Restoration
- Q&A
- To Wrap It Up
Understanding the Importance of Timely Plymouth Car Paint Repair
When it comes to keeping your Plymouth car in optimal condition, addressing paint damage promptly is crucial. Ignoring superficial scratches or chips can lead to more severe issues over time. Not only can these imperfections mar your vehicle’s aesthetics, but they can also expose the underlying metal to corrosive elements. Therefore, timely repairs are essential to maintain the vehicle’s value and appearance.
Moreover, the implications of delaying paint repairs extend beyond mere visual appeal. Consider the following aspects:
- Corrosion Resistance: Exposed metal parts without protective paint are susceptible to rust, which can lead to structural damages that are often expensive to fix.
- Resale Value: A well-maintained exterior can significantly enhance the resale value of your Plymouth. Potential buyers often consider the overall condition, and a good paint job can make a lasting impression.
- Owner Satisfaction: A visually appealing vehicle fosters pride of ownership, making every drive more enjoyable.
The benefits of addressing paint issues promptly are clear, but understanding the repair process is equally important. Potential car owners should be aware of factors like:
| Type of Damage | Recommended Action | Expected Outcome |
|---|---|---|
| Minor Scratches | Buffing and Polishing | Restoration of Original Finish |
| Deep Scratches | Touch-Up Paint | Seamless Repair Appearance |
| Chips and Peeling | Full Panel Respray | Durable and Uniform Finish |
Timely intervention not only helps maintain the aesthetic appeal but also ensures long-term protection for your Plymouth. Investing in professional paint repair services can save you from future hassles and costs while enhancing your driving experience.
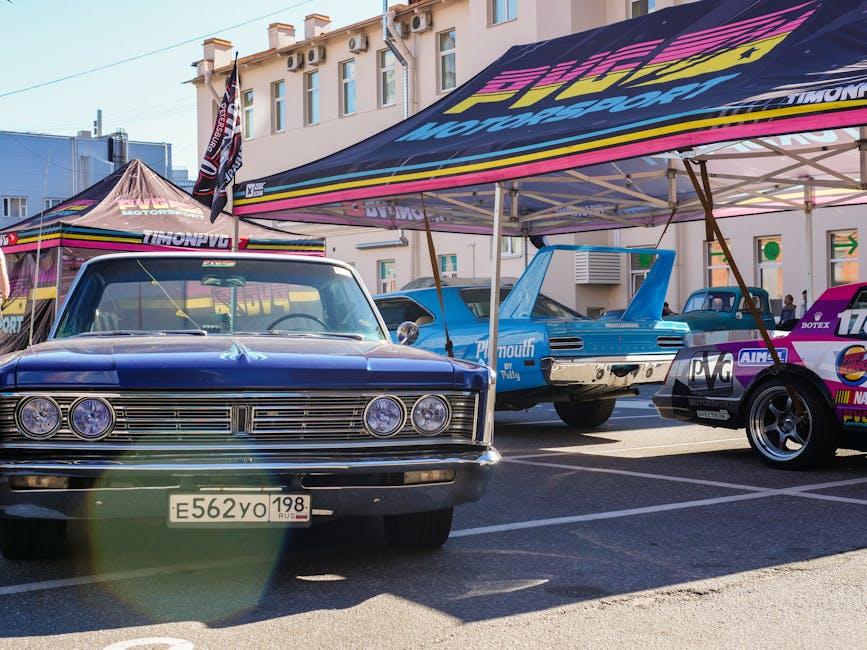
Common Causes of Paint Damage on Plymouth Vehicles
Plymouth vehicles, like any other cars, can face a range of paint damage issues that can detract from their aesthetic appeal and value. Among the most prevalent causes of paint damage are environmental factors. Exposure to UV rays, rain, and acid rain can lead to oxidation, fading, and discoloration over time. Additionally, environmental pollutants, such as bird droppings and tree sap, can cause etching if not removed promptly, leaving lasting marks on the paint surface.
Another common source of paint damage is physical contact. Scratches, dents, and chips can occur from everyday driving, such as gravel flying up from the road or minor accidents in parking lots. These abrasions not only mar the finish but can also expose the underlying metal to rust and corrosion if untreated. Furthermore, using improper washing techniques or abrasive cleaning materials can exacerbate these issues and lead to premature paint wear.
the type and quality of the paint itself can play a significant role in paint damage susceptibility. Cheap paint formulations may lack durability and protective qualities, leading to quicker deterioration. Additionally, improper application during manufacturing or repainting can result in peeling or bubbling, compromising the integrity of the paint job. It’s crucial to consider these factors when selecting a vehicle or planning a repaint, to ensure that your Plymouth maintains its classic look and withstands the test of time.

Step-by-Step Guide to Assessing Paint Damage
To effectively assess paint damage on your Plymouth, start by examining the vehicle in good lighting. Natural light works best to reveal imperfections that artificial lighting may conceal. Check for various types of damage, such as scratches, chips, and fading. Focus on the following areas:
- The front bumper, which is often the first point of impact.
- The side panels for signs of minor collisions.
- The roof and hoods, where sun damage and oxidation may occur.
Next, determine the severity of the damage by categorizing it into different levels. Create a simple table to help you understand the condition of your paint and plan your repair accordingly:
| Damage Type | Description | Repair Method |
|---|---|---|
| Minor Scratches | Surface-level scratches that don’t penetrate the base coat. | Polishing or touch-up paint. |
| Chips | Small areas of missing paint that expose the metal. | Touch-up paint or blending. |
| Faded Areas | Paint that has lost its vibrance due to UV exposure. | Repainting or applying a sealant. |
Lastly, take note of the areas that require immediate attention versus those that can wait. Document your findings by taking photos of each damaged location; this will aid in comparisons during repairs and can be useful if you decide to consult with a professional. Look for inconsistencies in the paint thickness using a paint depth gauge, which can reveal if the vehicle has had previous repairs. Keeping track of these details ensures a more efficient and effective repair process.
Choosing the Right Products for Plymouth Car Paint Repair
When it comes to restoring the finish of your Plymouth, selecting the right products is vital for a successful car paint repair. Start with a high-quality automotive paint that matches your vehicle’s original color. Many manufacturers offer paint code lookup services, allowing you to find the right shade effortlessly. A well-matching paint is crucial not only for aesthetic reasons but also for ensuring that the repair blends seamlessly with the existing finish.
In addition to automotive paint, investing in proper primers and clear coats can significantly enhance the durability of your repairs. Primers help facilitate adhesion, while clear coats provide a protective layer against UV rays and environmental contaminants. When selecting these products, consider options that are compatible with each other and suitable for your Plymouth’s paint type. Here are some factors to keep in mind:
- Drying Time: Choose products with similar drying times for a smoother application process.
- Application Method: Ensure the products can be applied using the same tools, whether by spray or brush.
- Compatibility: Verify that the primer and clear coat are designed to work with your chosen automotive paint.
Lastly, don’t overlook the importance of repair tools and materials required for a professional finish. Here’s a simple table comparing essential items for your paint repair project:
| Item | Purpose | Recommended Product |
|---|---|---|
| Sanding Block | Prepare surface for painting | 3M Sanding Block |
| Masking Tape | Protect areas not being painted | FrogTape Multi-Surface |
| Paint Sprayer | Even paint application | Wagner Control Pro 190 |
Being methodical in your selection process will yield results that not only restore the beauty of your Plymouth but also ensure the longevity of the repair. Your investment in the right products will reflect in the end result, giving you both satisfaction and confidence on the road.

Professional vs. DIY Solutions for Paint Restoration
When considering options for paint restoration on your Plymouth, you may find yourself weighing the merits of professional services against taking the do-it-yourself (DIY) route. Professional solutions often come with the assurance of expertise, high-grade materials, and access to advanced technologies. Skilled technicians can not only match the exact paint color but also ensure a flawless finish that might be difficult to achieve at home. Choosing this route typically guarantees durability and is often backed by warranties, providing peace of mind should any issues arise later.
On the other hand, opting for a DIY approach can be both rewarding and cost-effective, especially if you enjoy hands-on projects. It allows for complete control over the restoration process, enabling enthusiasts to customize their vehicle as they see fit. However, this approach requires careful planning and a good understanding of the right materials and techniques. Research is essential to avoid common pitfalls. Here are some factors to consider:
- Experience Level: Understand your skills and the complexity of the restoration.
- Tools Required: Assess if you have or can access the necessary equipment.
- Time Commitment: Consider how much time you can dedicate to the project.
- Budget: Analyze the costs involved in both professional services and DIY materials.
Ultimately, the choice between professional and DIY solutions for paint restoration hinges on your specific needs, budget constraints, and level of expertise. While professionals provide a hassle-free experience, those with patience and a keen interest in car care may find DIY restoration to be a fulfilling and enjoyable endeavor. Each pathway has unique advantages that cater to different priorities, making it essential to evaluate what matters most to you in the restoration journey.


0 Comments